Week 1 – Maya and MASH
For the first week, we began by looking at the uses of VR in terms of creating narrative and immersive experiences. VR is already much more immersive than many other forms of media, as the user is fully placed into the scenario in their own perspective, which grants a lot of opportunities for interesting uses and ideas – however, it also introduces a lot of challenges in creating VR experiences. For example, the ability to have full control of your camera and view at all times means that you have to take much more time and effort to ensure that any scene works well when viewed from whatever angle the user chooses – this involves a lot of work for lighting and set design, for instance.
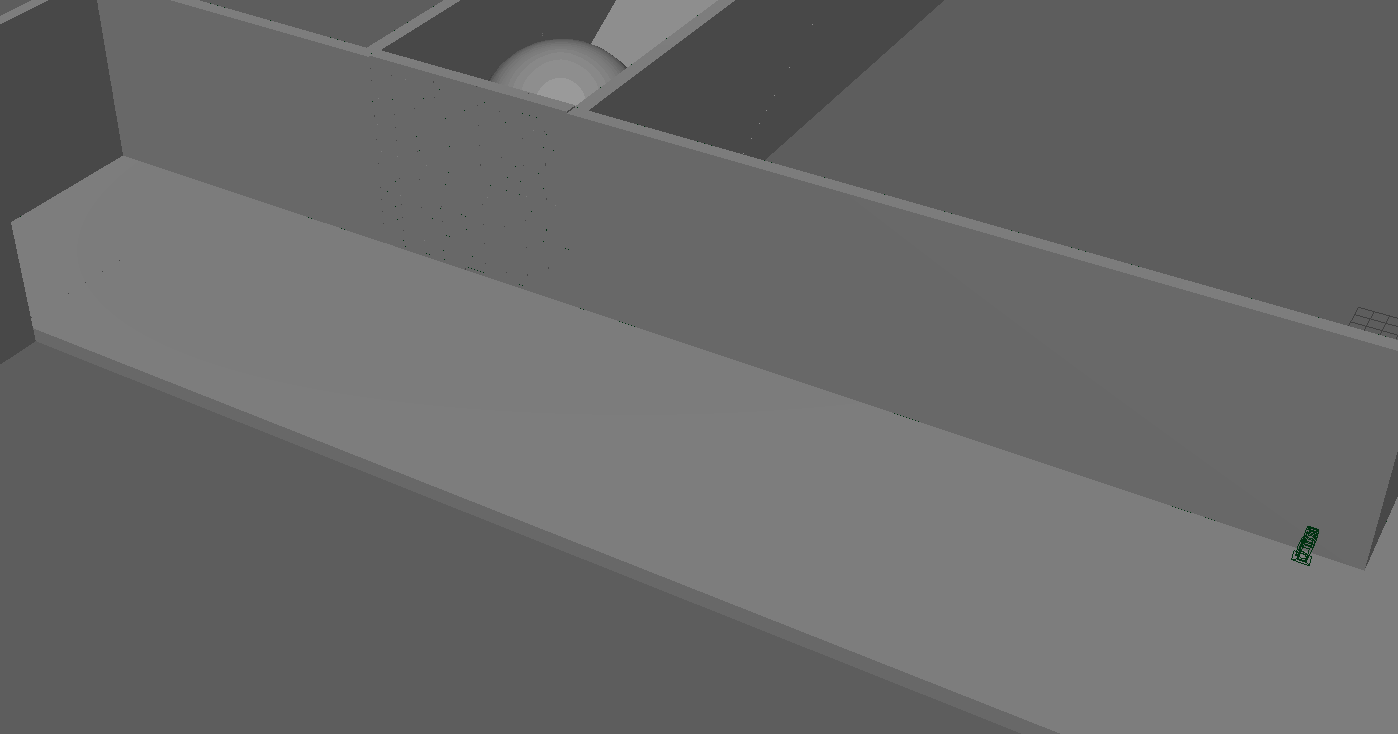
The first project was to create a moving 3D scene in Maya, using a VR camera so the viewer could look around wherever they want. The scene I wanted to create was an Indiana Jones inspired temple scene, where the camera would walk through a small hallway, before a boulder crashes through a wall ahead of them. For the wall breaking, I would use a Maya plug-in called MASH, which allows for procedural animations to be quickly generated to save a lot of time on animating.
I started by creating a basic storyboard to show the layout and idea for the scene.

Next, I created the blockout shapes of the tunnel and ball. I added a roof, but disabled it while working so I could work on the animation inside before re-enabling it.
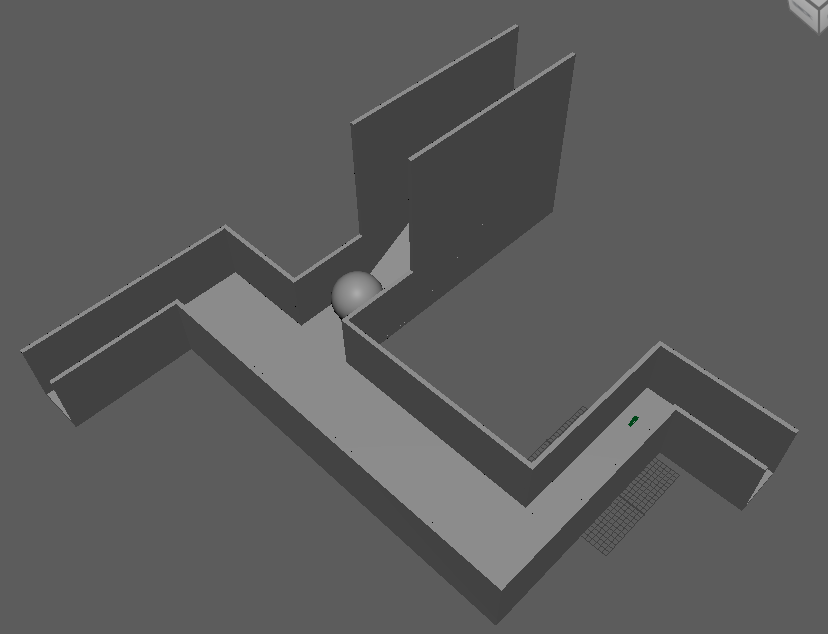
Next, I created the basic animation using keyframes – this was simply moving the camera down the hallway, and having the ball roll across the hallway when the camera got close.
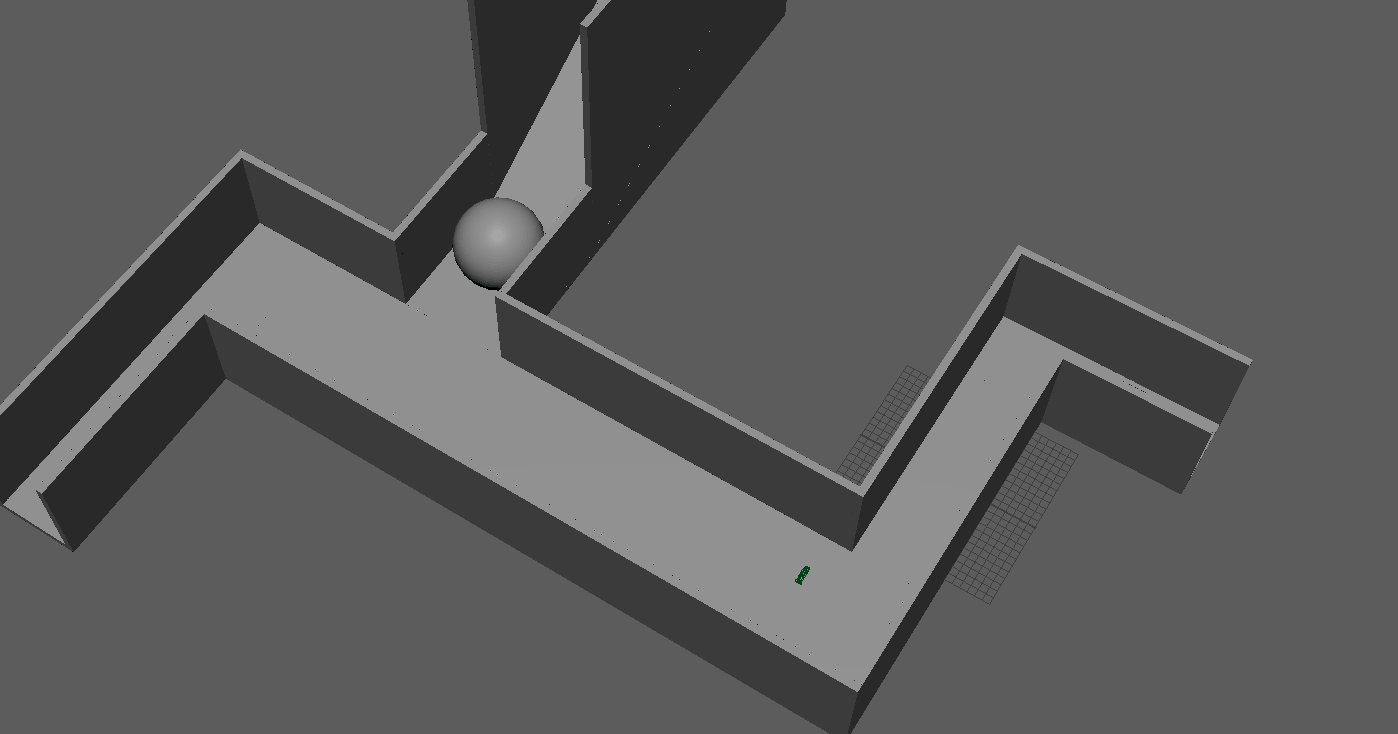
The last, and most important, part of the animation was the MASH wall. I started by creating a single brick-shaped block, which I then turned into a tiled MASH wall by duplicating it sideways and upwards.
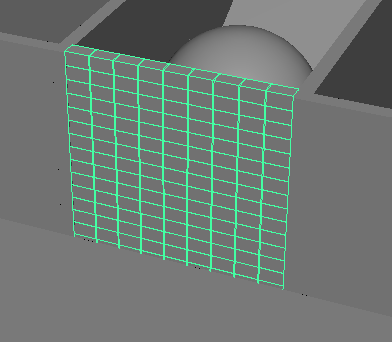
I then animated it by having the entire wall rotate downwards at the same time the ball hit it, as well as moving the position and rotation of each block randomly to make them appear to scatter on the ground as the wall falls.
Finally, I added some lights to the scene and rendered the video.
The idea of a VR 3D video is very interesting, and could have various different possible options for a project to create. I will certainly consider it as an option for my research project.
Week 2 – FrameVR
The second week, we focused on different uses of VR technology. We specifically looked at FrameVR, a website designed to have meetings in virtual reality. It can also be used as a way to display different assets for a variety of uses.
I decided to create a simple display of my 3D character from a previous assignment to try out the website, and see if it had any potential for a kind of immersive portfolio.
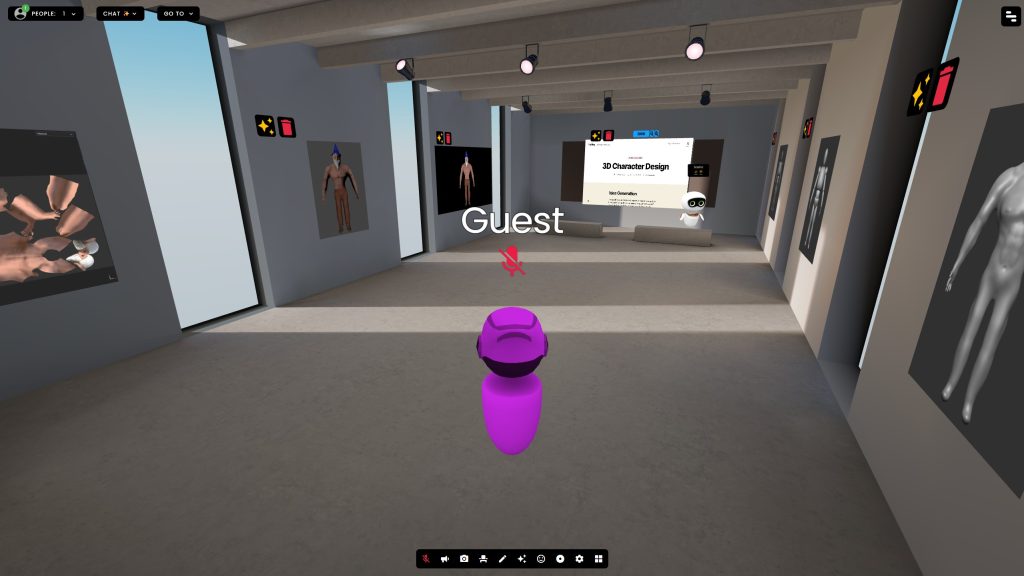
While the potential was interesting for a virtual portfolio, I did not think there were many interesting ways to create a project with FrameVR, so I did not go any further with it.